I’ve been getting things ready I have been implementing a few changes again this year. I’ll share them over the next few weeks. One of the things I am changing is my student birthday gifts.
I’ve done the same routine for birthdays in my classroom for a while. This year, I am ready for a tiny change.
I’m not going to change my birthday chart because it is super easy to maintain, super cute and a space saver, too! I HIGHLY recommend it!
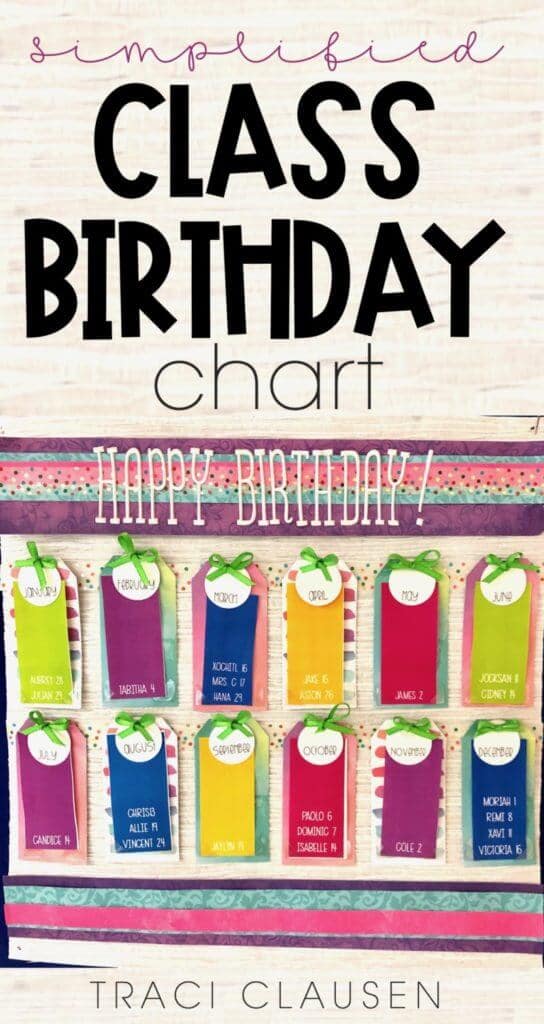
I’ve used this basic concept for years. It’s just so simple!
The Student Birthday Chart
- Background
12×12 scrapbook paper. I used a textured/rice paper. It was a little more expensive that others – but I only needed the one sheet.
- Embellish
Cut thin strips of scrapbook paper as accent pieces that you can layer. I used some scraps from 12×12 sheets I had on hand in colors that complement my Vanilla Sherbet theme.
Consider using Washi Tape as an embellishment, too. I used some of the polka dot tape I have used throughout the room to tie it in with everything else.
Use 3D letter stickers to label it. I found mine at Michaels. - “Hanging Strips”
A couple lines of Washi Tape make the tags look like they are hanging on a line. Just be sure to lay these two lines super straight. Strips of paper could be used for this as well. I chose the Washi Tape primarily because I have used it many other places in the room and it matches the ribbon I use to trim the entire bulletin board.
- Colorful Tags
I found the watercolor tags shown in the picture in a discount bin at a local store! But any colorful tag would work. You could even make your own with scrapbook or construction paper.
Attach each one, evenly spaced, across the “hanging lines”. These are never removed, so use strong glue, double-sided tape, or hot glue to ensure they are going to stay put. - Month Tags
Type up the month names in your favorite font and use a circle cutter to cut them out of card stock.
Adhere these circles to the tops of the tags. ONLY the very top of the circles should be attached. You will be sliding paper under them, so the bottom part should not have any adhesive. Hot glue, double-sided tape and glue dots work great for this.
Add a little ribbon, bow, or other element to add a bit of “pizzazz” to the tops of the months. - Photo Corners
Add self adhesive photo corners to the bottom corners of each of the tags. Use clear photo corners so they “disappear” into your birthday chart.
- Birthday Names
In a document (I like to use PowerPoint for this) make text boxes the size you need to fill each tag, while still leaving an edge to frame it. Fill each box with color, add names in a font you like and a color that stands out. Align the name with the bottom of your text box.
Type in your student names and the day number for their birthdate. I always start with the student with the longest name to ensure the font size is correct. Use the same size font for all names for uniformity.
Print the sheet. Before cutting, note the name of each month somewhere that will be hidden (the top or back).That way you know where each strip of paper will go after you cut them.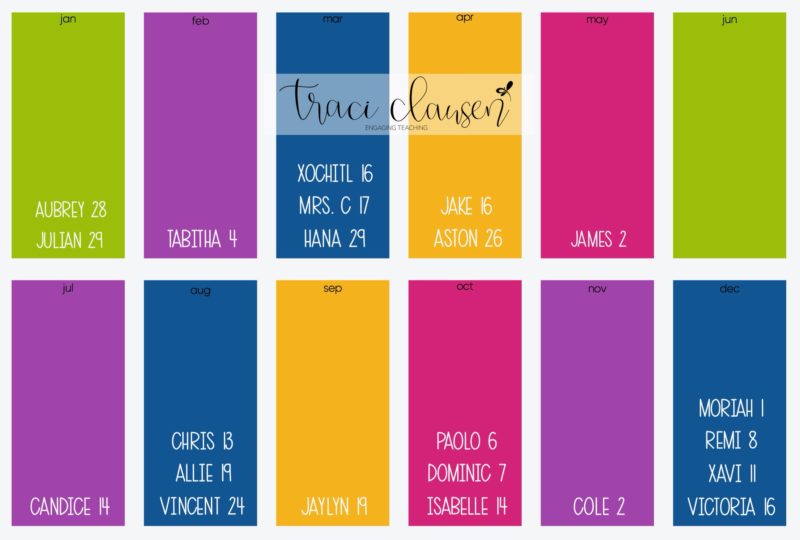
- Slide In The Slips
Slide the slips with their birthdates under the proper month circle and into the photo corners. Do not glue these in place. You want to be able to remove them easily and replace them next year or whenever you have a new student join your class.
Keeping it Simple
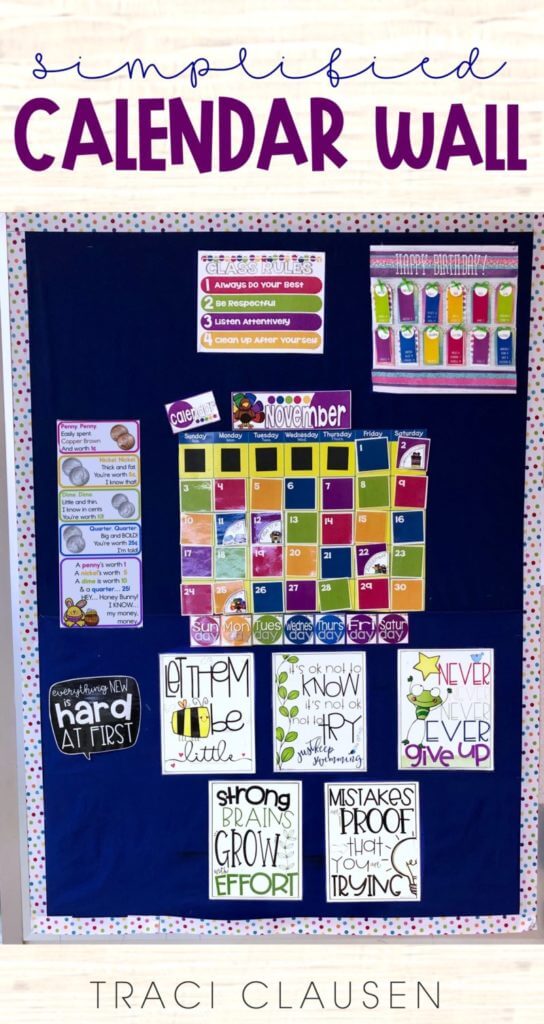
As you can see, my bulletin board space is limited here, but the student birthday chart fits in perfectly!
I have done some version of that chart for many, many years. I have made different versions for different colors schemes I’ve had.
This bulletin board is next to our sink. The kiddos are always checking out who has a birthday next and who has a birthday in the same month.
The Birthday Routine
But their favorite part of the whole birthday thing is that they get to tell us what to do. Let me clarify. After we sing Happy Birthday to our little friend, we spin them around, sprinkle them with birthday dust and ask…
What shall we do?
To which the kiddos respond with a task they would like us to do 6, 7 or 8 times (depending on which birthday they are celebrating). They could suggest anything… clap, shake hands, say something, jumping jacks. Any task we can do repeatedly. They almost always pick push ups, sit ups, jumping jacks or BURPEES. People… burpees? This veteran teacher struggles with those!
Burpees are NOT fun! That.is.all.
Time for a Change
Anywhooo… they love it. And giggle. And “accidentally” do whatever the task is way more than the correct number of times. They brush up against their birthday friend in hopes to get some of that birthday dust on their shoulders, too.
Also, and this is important, it’s quick! Simple, quick and everyone is happy.
But I’m ready for a change with the birthday gift I give them.
This is what I’ve been giving the kiddos the past few years:
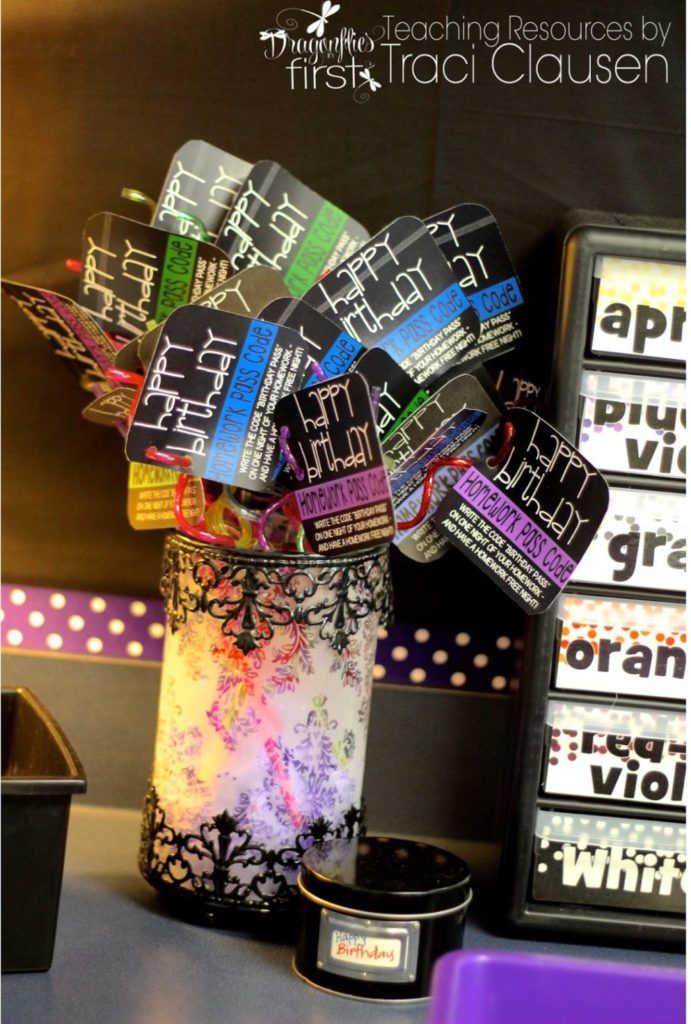
This is an old picture. I transformed all of these things when I switched to the Vanilla Sherbet theme. Now the “birthday dust” sits in a glass jar with white lettering and a purple lid. The crayon lost and found storage box is now painted white. (You can find those tags here.) I also painted the black parts of the straw holder white.
Anyhoo… I like everything we do for student birthdays. It’s fun, easy, and doesn’t take much time. But the straws? I’m over them. I was looking for something different that wasn’t a straw, pinwheel, pixie stick, or bubble wand.
I’ve given the kids some sort of crazy straw with a homework pass attached to it each year for a very long time now.
So, everything has been the same for a bit, but I was ready for a change in the little gift, but had no idea what to do. Hello Amazon!

JUMBO PENS TEACHER FRIENDS!
Who doesn’t love JUMBO pens?
I usually have 30 kiddos when all is said and done so I ordered 3 sets of 12, just be to be safe and cover myself for a “revolving door” year, just in case.
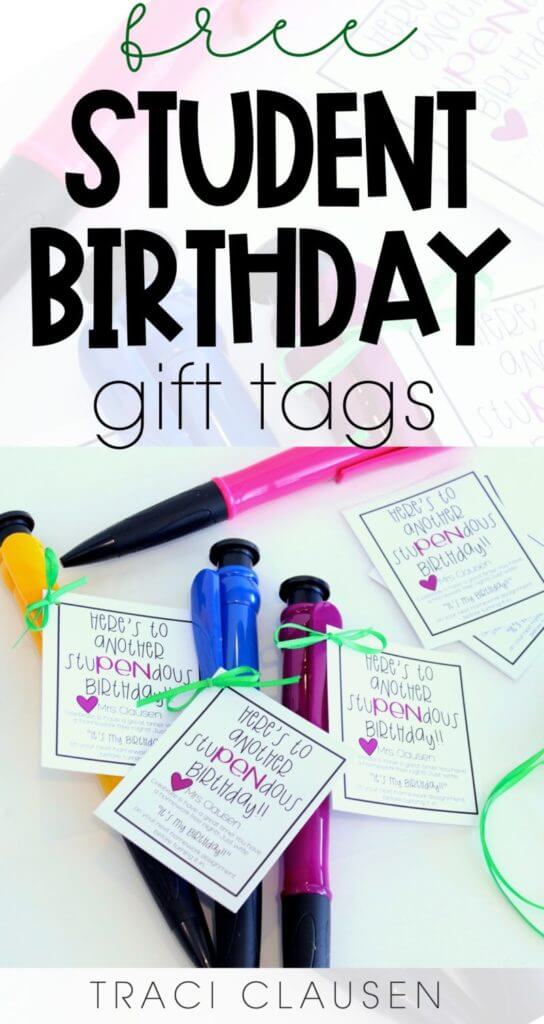
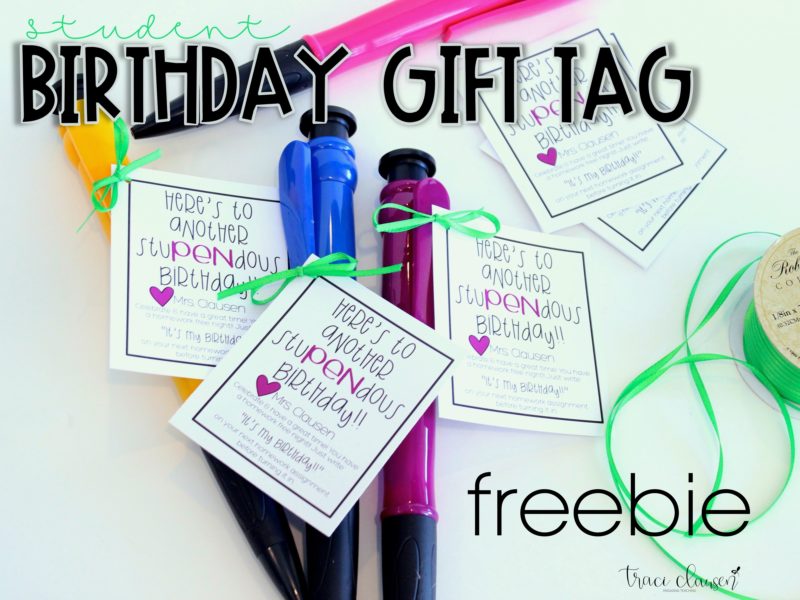
I am in LOVE with them! The colors are so bright and beautiful. they are going to look great on display in the room! There are red, pink, green, purple, yellow and blue. I made a cute little gift tag to go with them.
A New, FREE, Gift Tag
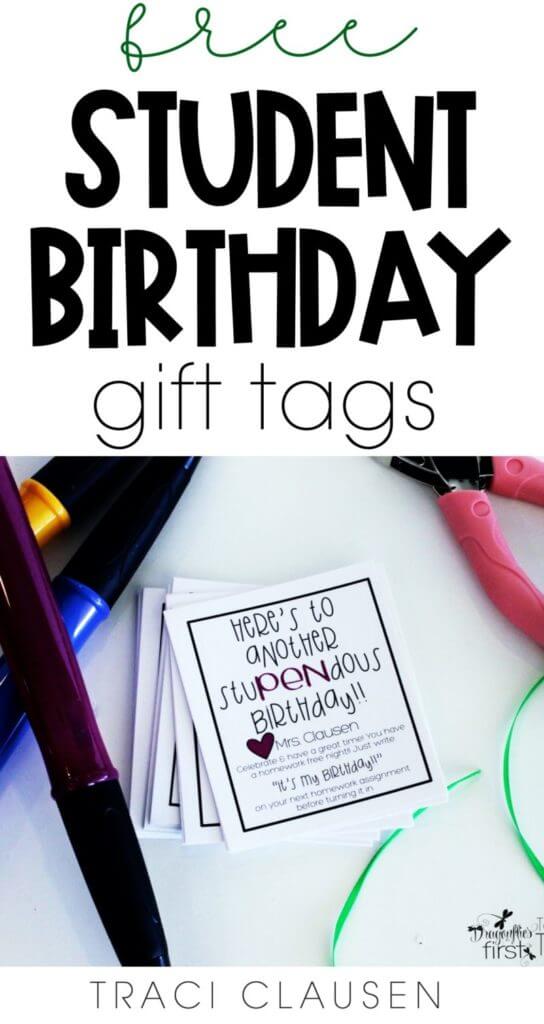
The awesome thing about this little card is that it could be attached to ANY kind of pen. Scentos or Mr. Sketch would be great hits! EDIT: Recently I moved to multi-color pens. They’ve been a big hit!
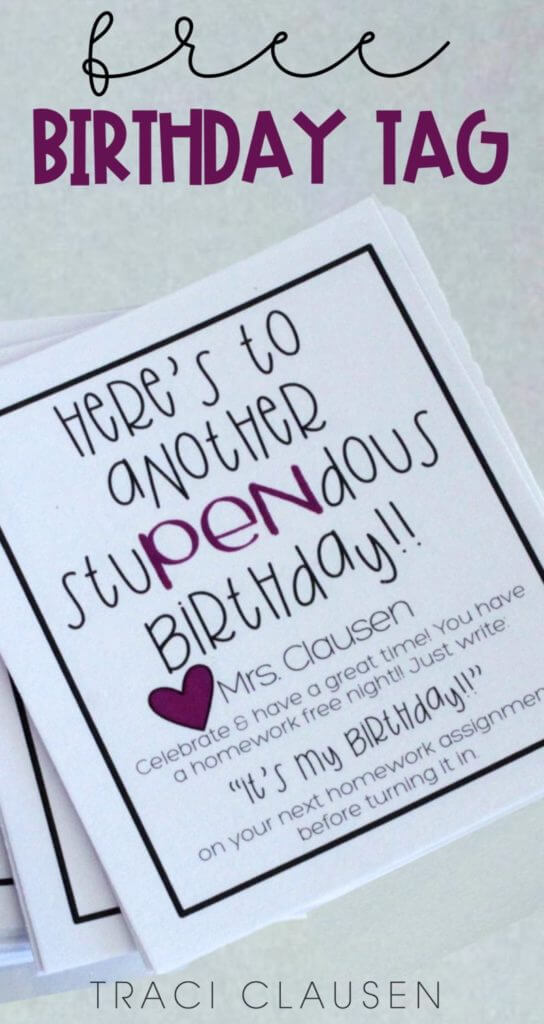
You can grab this little card for FREE! Just leave me your info and I’ll email it to you.
It’s in an editable PowerPoint file so you can type in your name.
I’m beyond pleased with these cuties! I know my little munchkins are going to LOVE them! These pen gifts are a perfect way to celebrate student birthdays!
