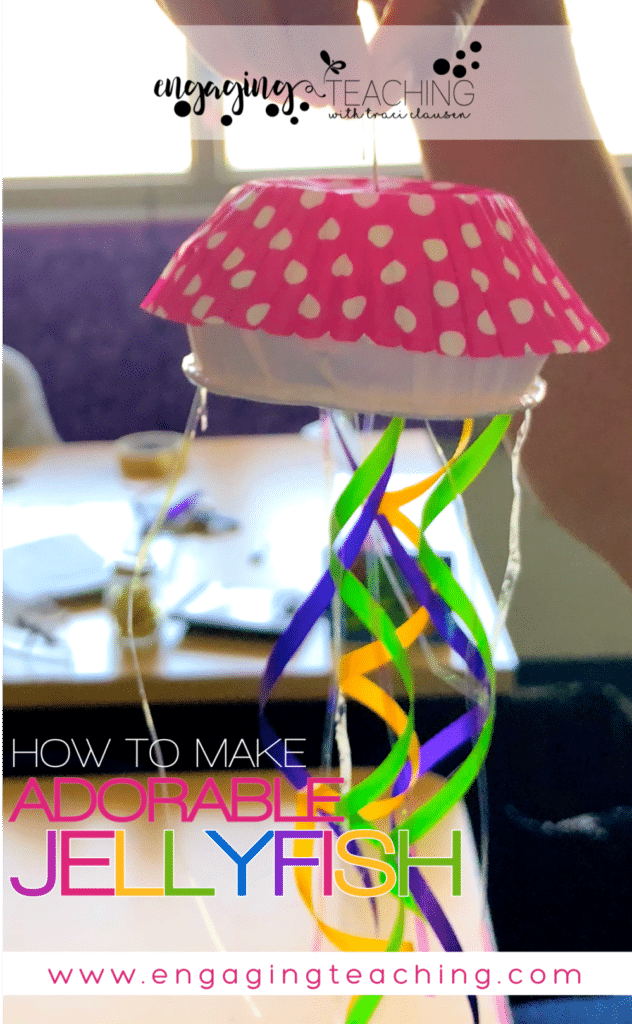
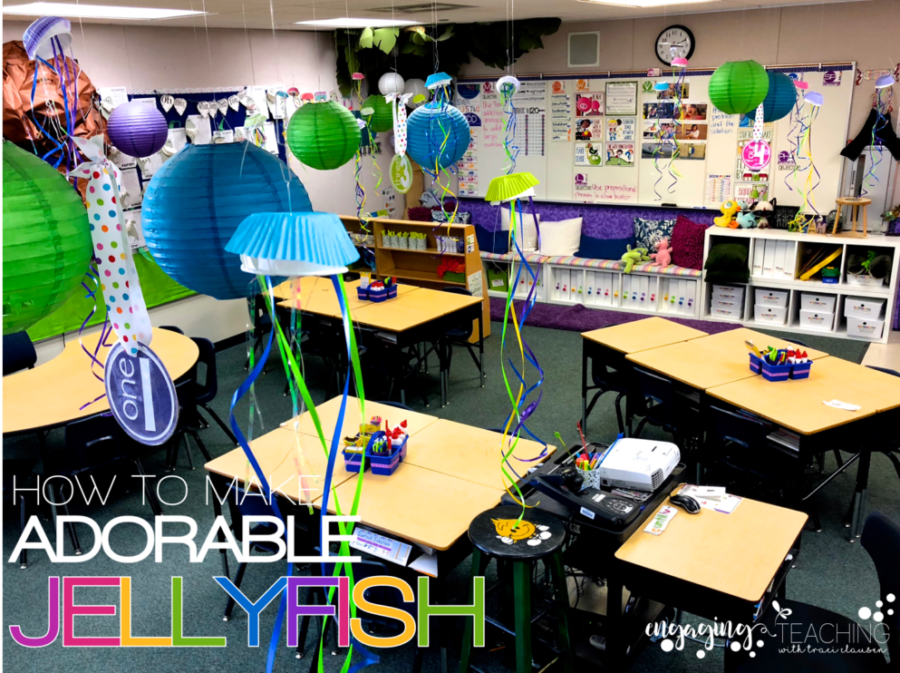
Open House is right around the corner. That means our classroom is being transformed into an underwater fantasy land. This night serves as the culminating activity of our school year. It’s when the kiddos get to show off all their hard work to their parents. I love using the ocean habitat as the theme because the kiddos really get into it and we can truly transform our room. Making a jellyfish craft is a fun way to introduce the theme.
I’ve been doing a jellyfish craft with my kiddos for years. We rarely just make art for the sake of art – but this one is just that. Simple and easy fun. You can check out our previous jellyfish here.
This year, I decided to something new after seeing these SUPER cute cupcake papers in Party City. They match my Vanilla Sherbet classroom theme so well! I couldn’t pass them up!
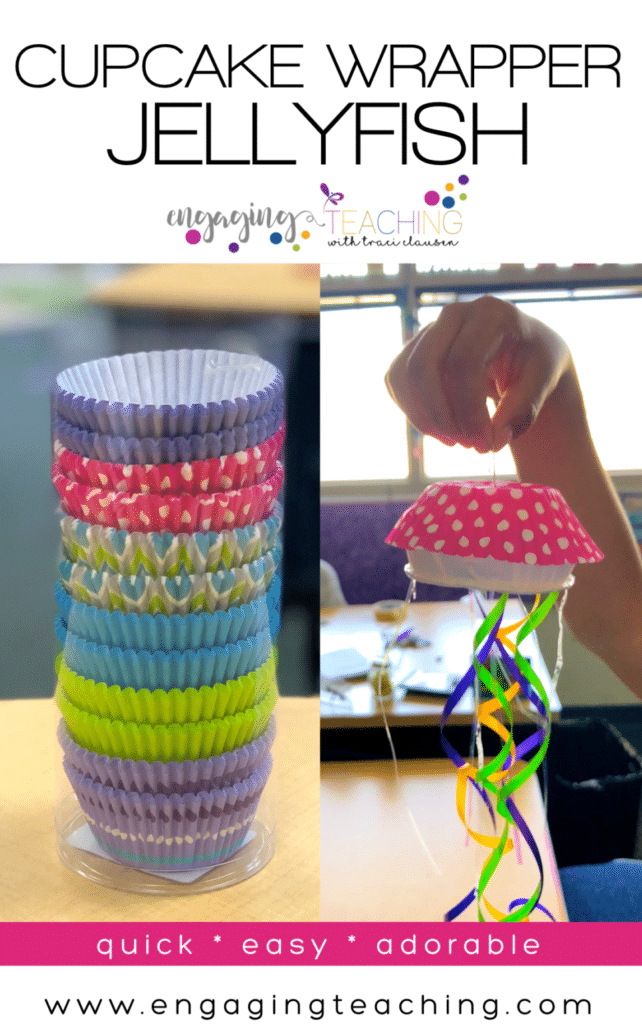
This little jellyfish craft can be done super quickly with very little prep!
STEP ONE
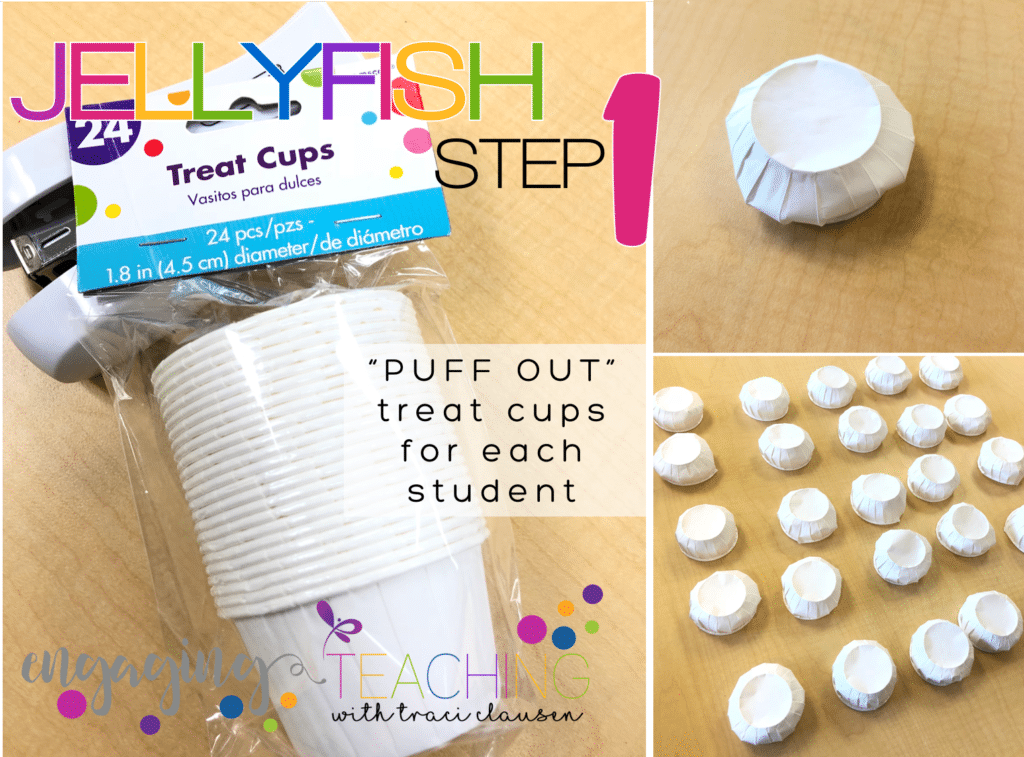
You’ll need to prep the little treat/portion cups. “Puff out” each one so that they make more of a dome shape. They don’t have to be perfect as they will be covered by cupcake papers, but they will provide the jellyfish craft shape. Prep one for each student.
STEP TWO
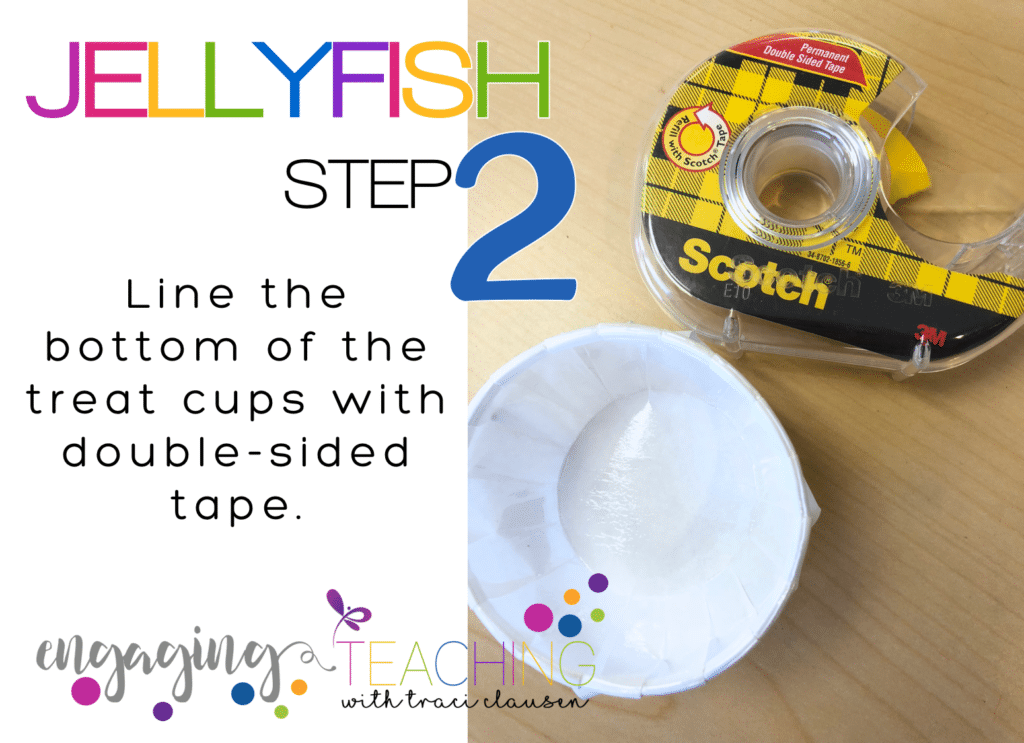
It’s hard to tell in this picture, but the bottom of each cup is lined with 3 little pieces of double-sided tape. I’ve made these jellyfish crafts with Elmer’s glue, glue sticks and double-sided tape. The tape absolutely works best, is less messy and is easiest for the kiddos. Just make sure you put the tape in for the little ones.
STEP THREE
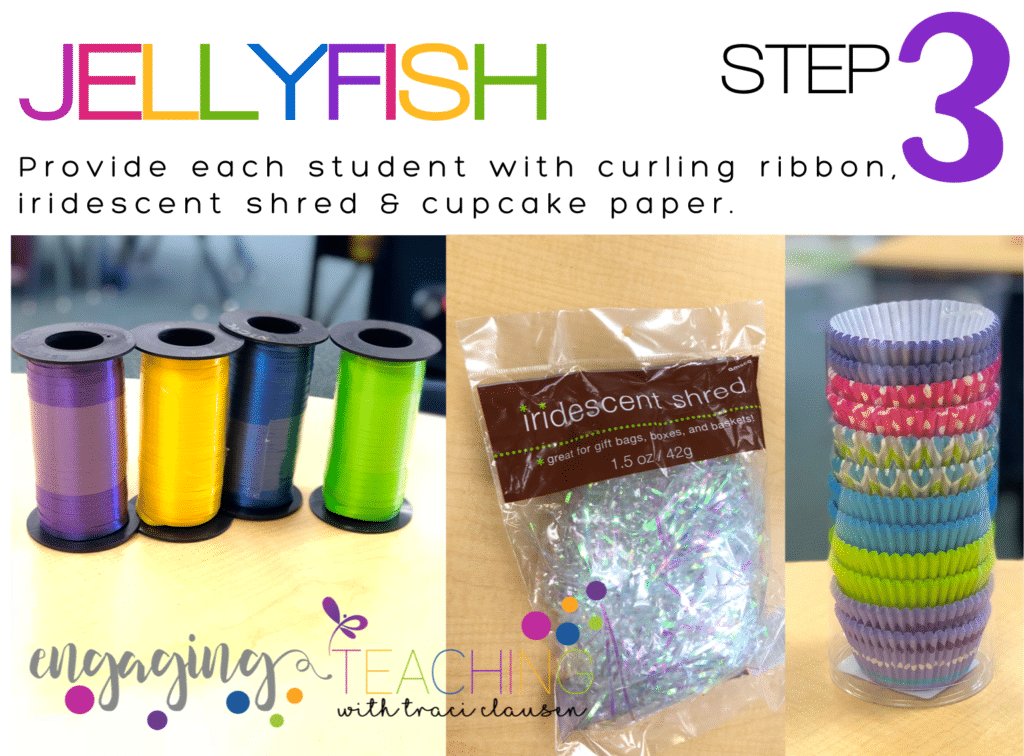
You really could use anything for this. I like the colorful curling ribbon. It’s inexpensive and easy to work with. The iridescent shred lasts a long time. It is a bit more challenging because of the static cling involved with it, but it looks SO good hanging from the jellyfish.
STEP FOUR
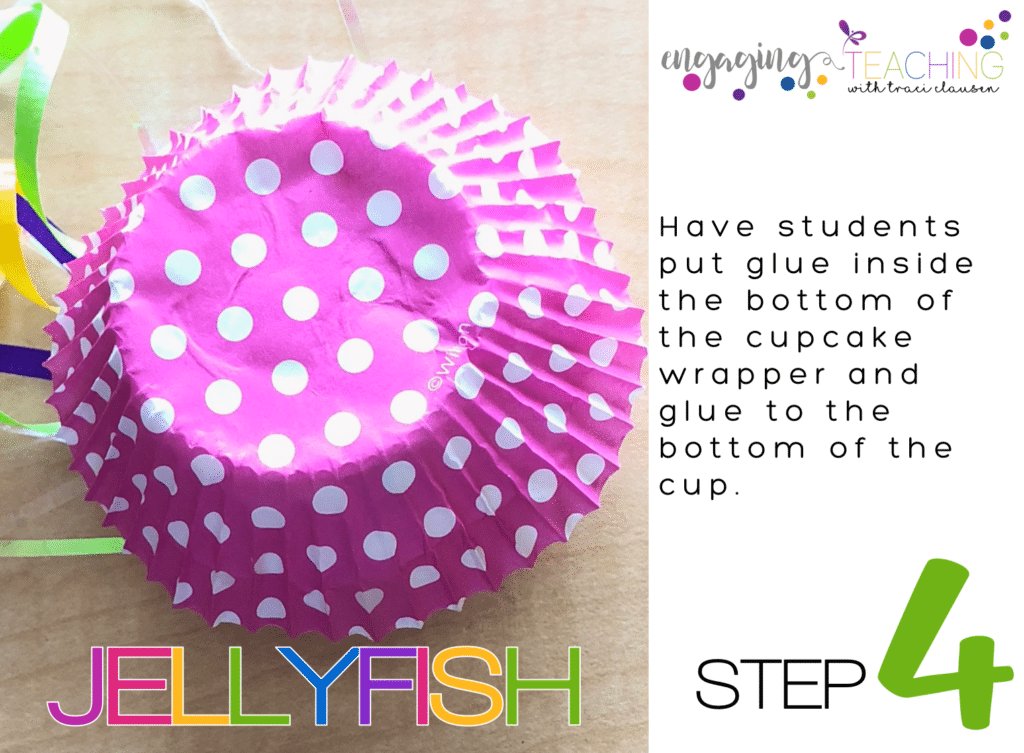
Have each student chose a cupcake wrapper and a little cup. The students will put glue on the inside bottom of the cupcake wrapper and then place it over the outside bottom of the treat cup. Then turn it over so the cupcake liner is on the table.
STEP FIVE
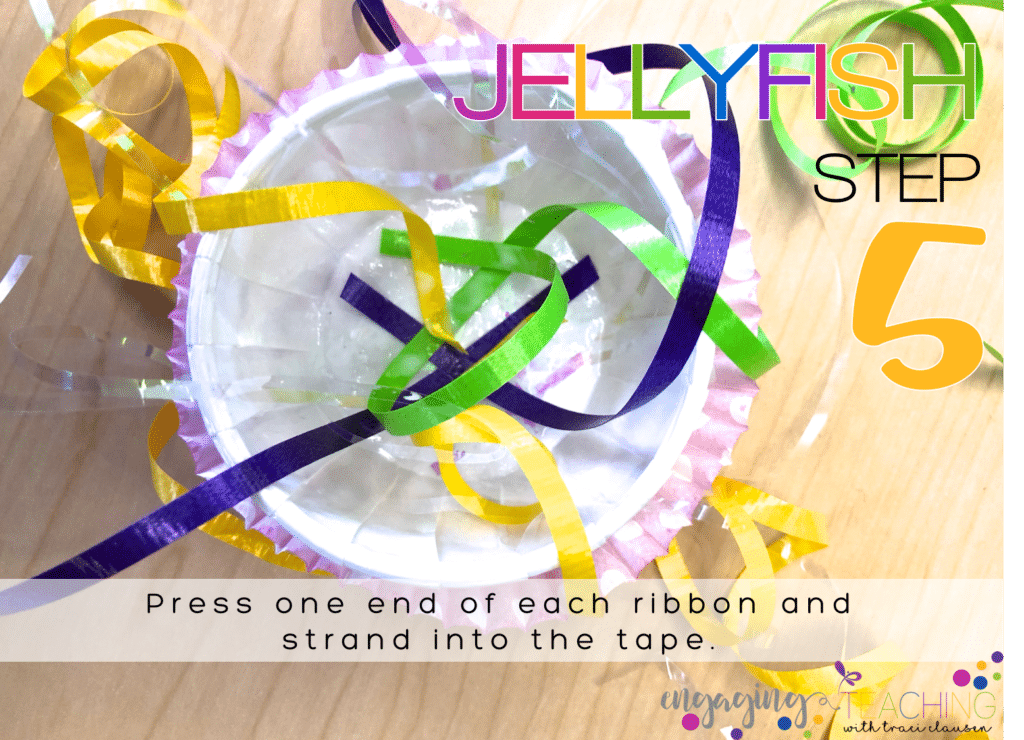
After selecting their ribbons and iridescent strands (I had my kids grab 10 strands and 5 pieces of curling ribbon) – they simple stick one end of each piece into the tape at the bottom of the cup. Just stick it anywhere.
STEP SIX
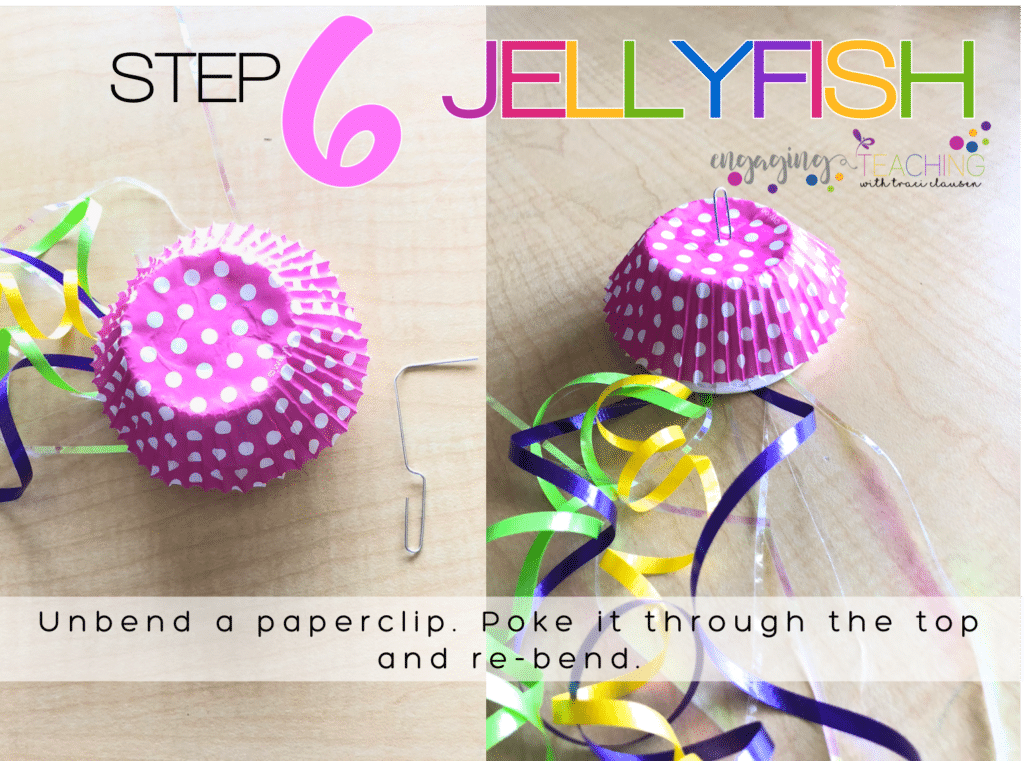
To hang the jellyfish, you’ll need a small paper clip – unbent a bit. Poke the unbent end into the bottom of the cupcake wrapper and cup. Once it is through the other side, bent it back up so it will stay in place. Use the end that is poking out of the top of the jellyfish as a hook.
I use T-pins and a paperclip attached to either end of a length of thin fishing line or nylon thread. I push the pins into my ceiling (at an angle so they don’t fall out) and leave them there all year. They are nearly invisible unless something is hanging from them. So, they are ready to when it’s time to hang the kiddos’ jellyfish crafts.
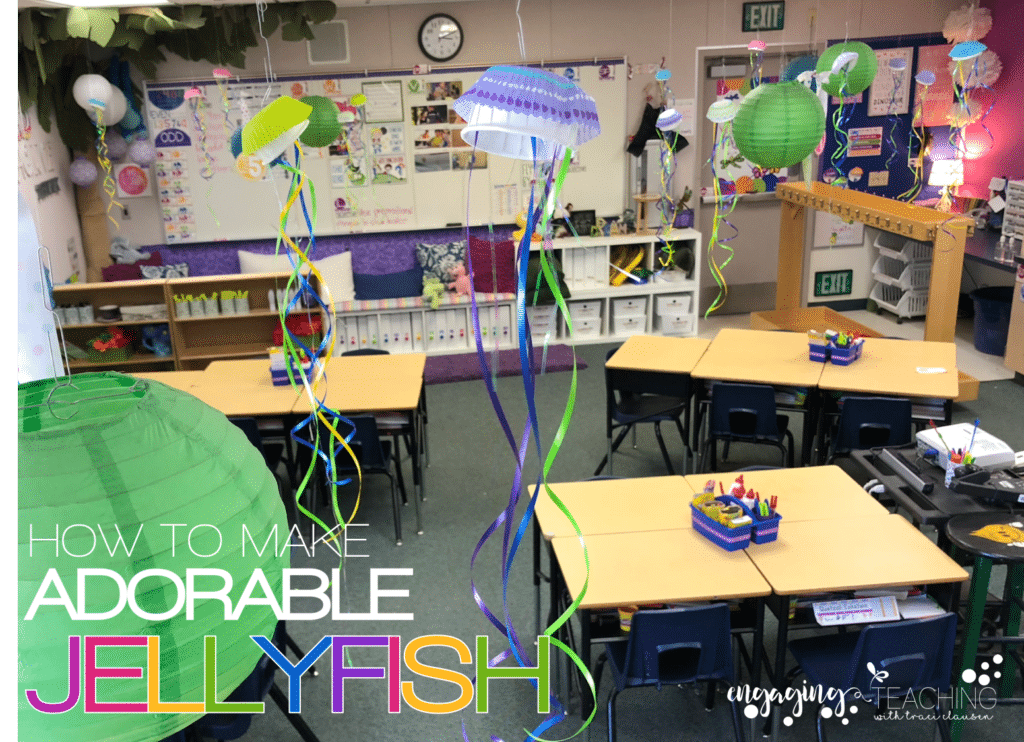
My kids had a blast making these little cuties. It was a great lead-in to our wonderful ocean habitat unit. They are all ready to dig into everything ocean! Check out Writing Through the Sea and Oceans of Fun for more ocean inspired fun!
Jellyfish Materials List
- fishing line or clear nylon thread
- t-pins
- double-sided tape
- treat/portion cups
- cupcake wrappers
- iridescent shred
- curling ribbon
