Nameplate Pros and Cons
I’ve had mixed feelings about desk nameplates for a while.
CON: The kids play with them when they are adhered to their desks, curling up corners, peeling off laminate and writing on them.
PRO: Many of my firsties need help spelling their last name.
CON: There are many ways to adhere them: double-sided tape, tacky putty, velcro, packing tape across the top. However, none really work for an entire school year.
PRO: They are a great place to offer many support references.
CON: They take up room.
PRO: They are a perfect helper for substitutes and visitors that need to know the kiddos’ names.
So, I wanted to get rid of them because of all those cons. But couldn’t because of all those pros.
Last year I began using desk nameplates differently and it was a FANTASTIC change.
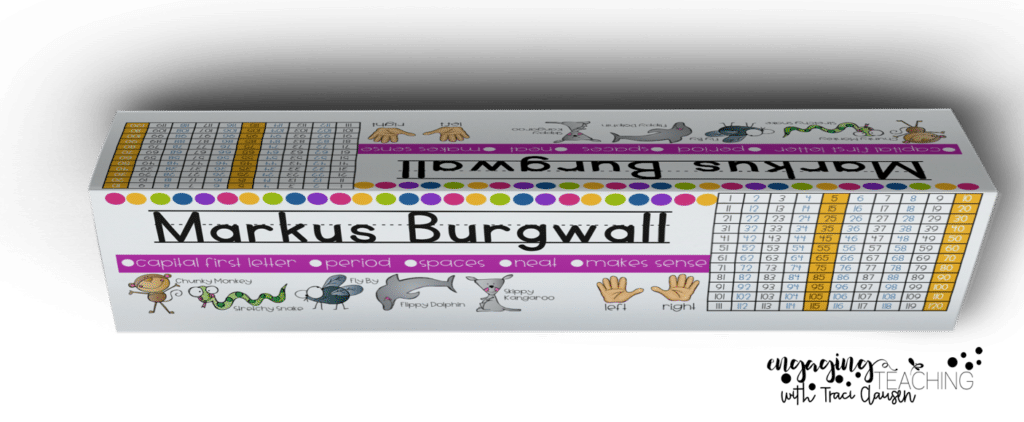
Instead of using the usual flat nameplate, I changed to a tent.
BUT, I do not use them as tents.
A Different Way to Use Tent Nameplates
Instead of using them as tents, I use the tent format to help me keep them in place.
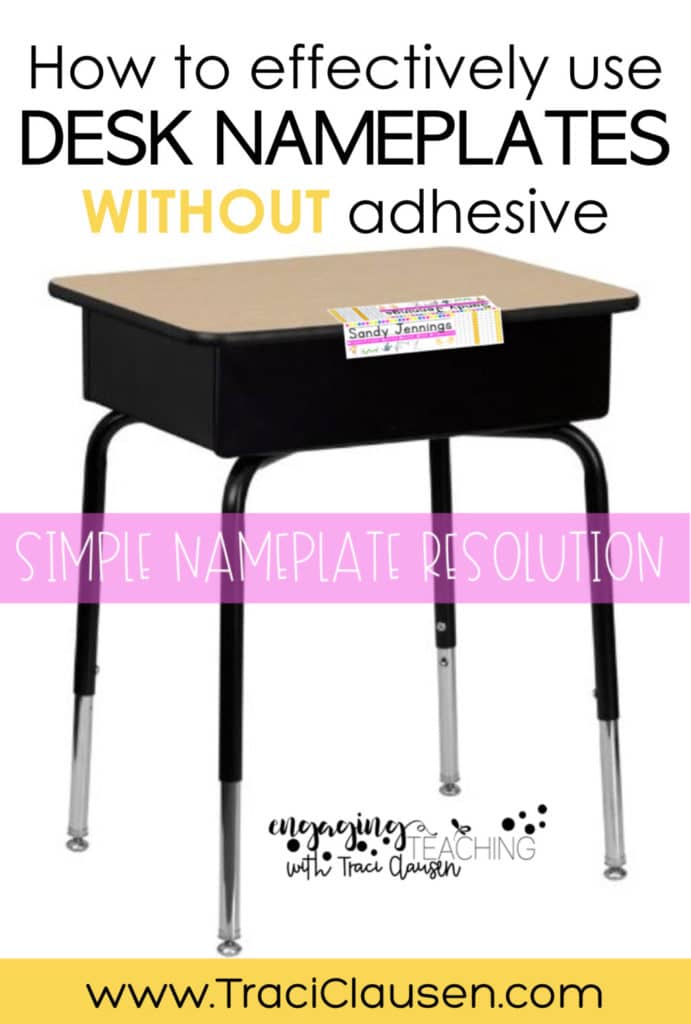
My kiddos hang their nameplates over the front edge of their desks. The nameplate sits perfectly on top and is held there by the desk in front of theirs. (I group my kids desks into table groups.)
Taking the Hassle out of Nameplates
I made a quick little video for you to explain how I use these to keep the hassle out of using desk nameplates.
At the beginning of the year, I give my students a black folder to keep in their desks. This holds all of their unfinished work, work we will go over later, or reference materials – like their nameplates.
So, whenever they need it, they just take it out. If there is a substitute, they know they are to place them on their desks as I’ve shown them previously.
It’s awesome. The nameplates remain like brand new all year.
Keep the hassle out of desk nameplates by NOT keeping them on your students’ desks. Make them resourceful for the entire year and saved for easy access. Drop a note into your sub plans indicating they have nameplates in their desks, so the kids are reminded to take them out so the sub will know their names.
Easy-peasy solution to an annoying problem!
Often nameplates are sold as tents. However, for the ones that are not, you could attach them to a piece of construction twice the size of the nameplate, then fold the extra long end back to create a tent like resource. For something SUPER easy, check out my Auto-Fill Desk Nameplates.
Auto-Fill Desk Nameplates
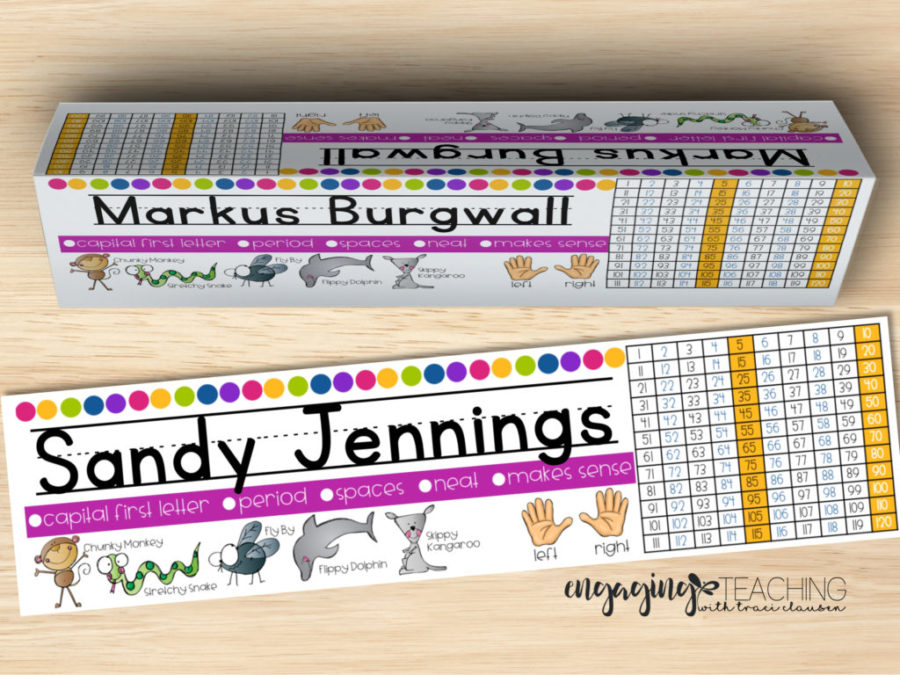
The nameplates I use include reading strategy & writing reminders (from the Reading & Writing Strategies resource) , and a 120 chart. The 120 chart is color-coded to identify odd/even numbers, counting by 2, counting by 5s and 10s and counting by 10. They also help students with spelling their names and letter formation.
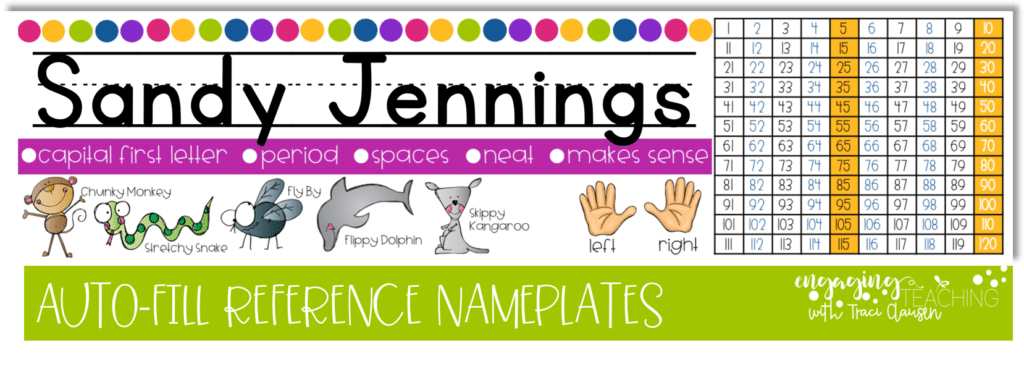
However, one of the best parts about these nameplates is they are auto-fill. I just type students names into a quick chart and BAM – all of my nameplates are created!
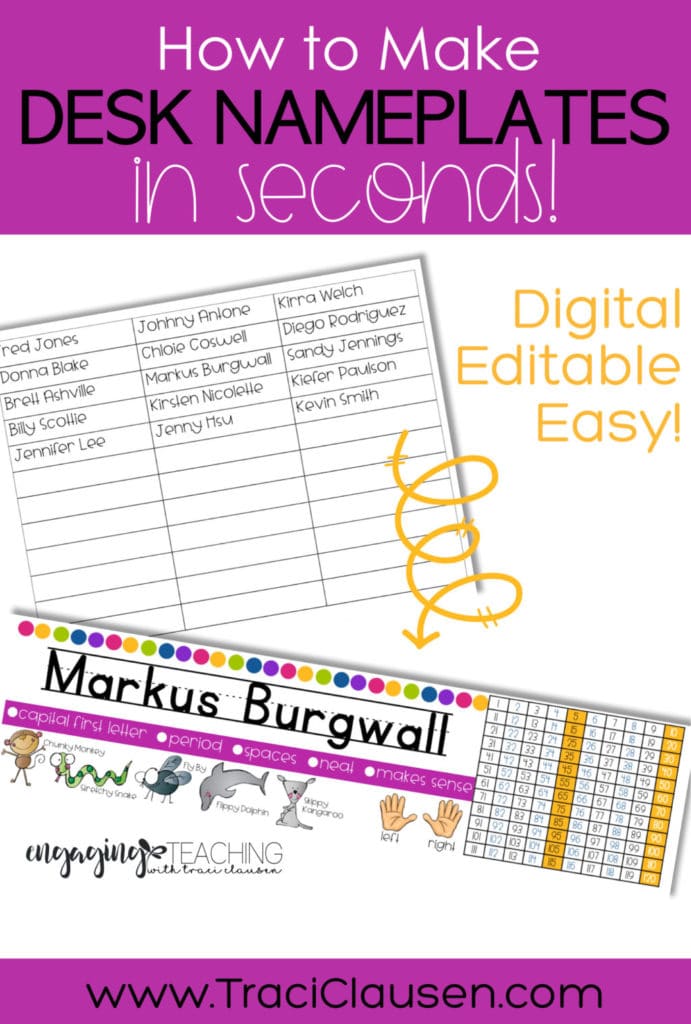
You don’t need any special knowledge to use Auto-Fill Desk Nameplates. It is all done on the .pdf. Just type in the names. As you enter names, your nameplates are automatically created with the awesome fonts that help them look so beautiful!. All you have to do is print.
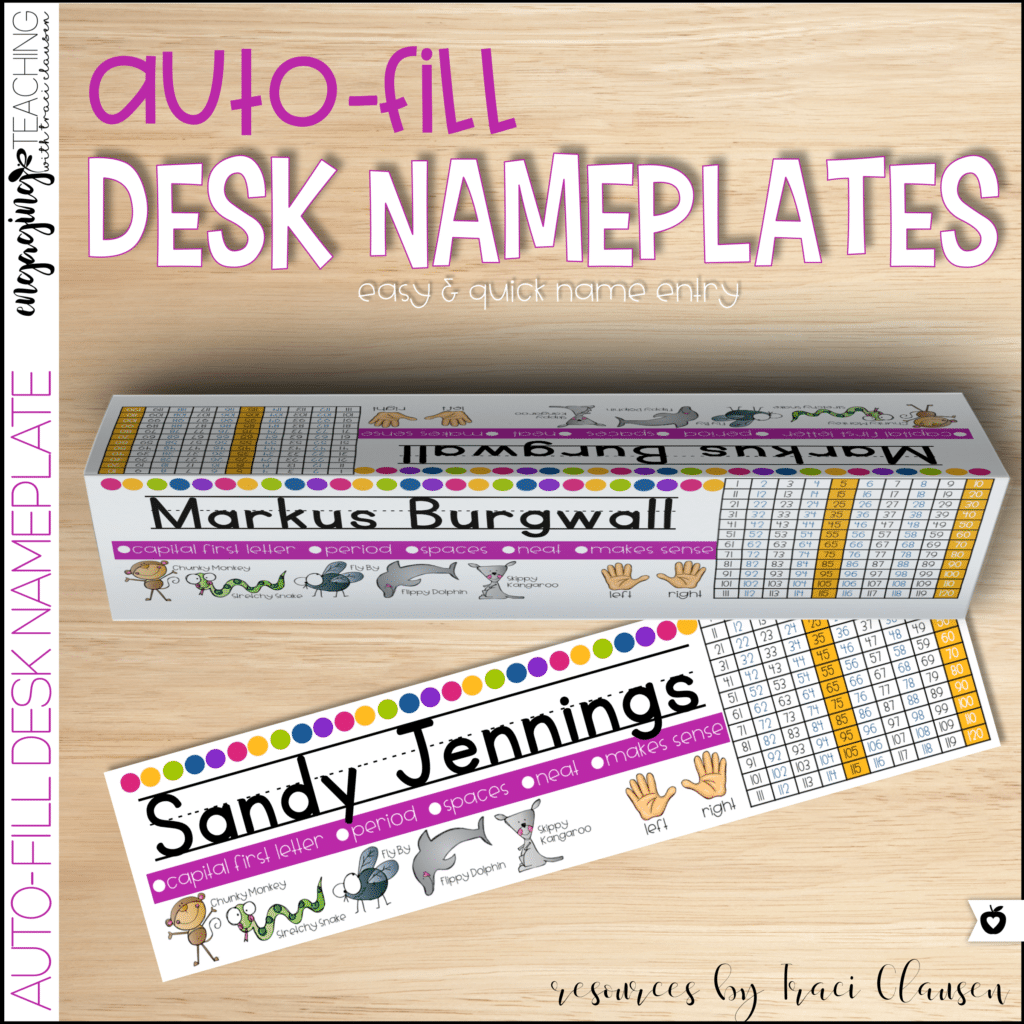
Auto-Fill Desk Nameplates are so bright and colorful. They are designed to pair with the Vanilla Sherbet classroom decor line.
