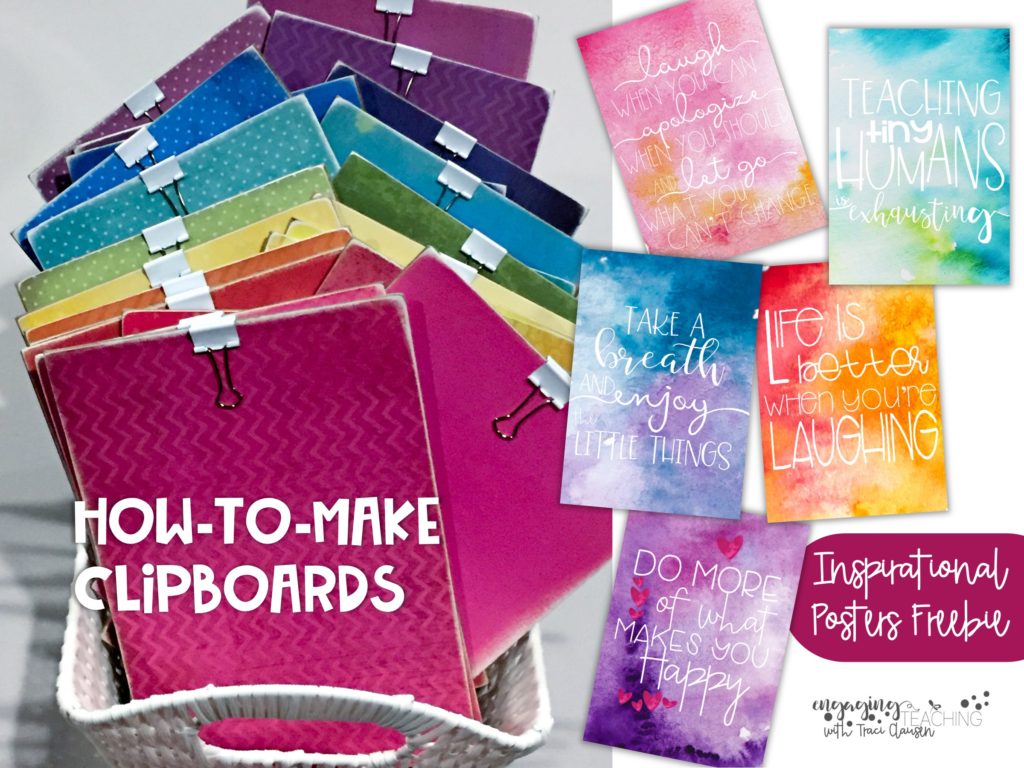
I received a few emails about the clipboards shown in my Daily Schema Review post. I need 30 little clipboards in my classroom, due to the whole 30 little peeps crowded in my room situation. Purchasing something CUTE and that plentiful was out of the budget! So I decided to make them.
Peeps, they are a piece of cake to make! I love them!! You only need a few things and a little bit of time.
Because I am on my whole Vanilla Sherbet kick, the most important and time-consuming thing I did was make a decision on the paper I used.
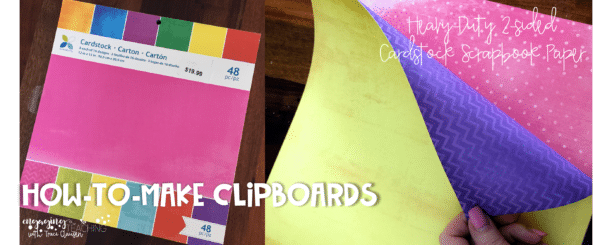
I decided on this pad of scrapbook card stock. It is filled with all the colors I love. It is super thick and textured. The backside of each page is another color/pattern option! You can use any kind of paper you wish, though. It doesn’t have to be heavy card stock.
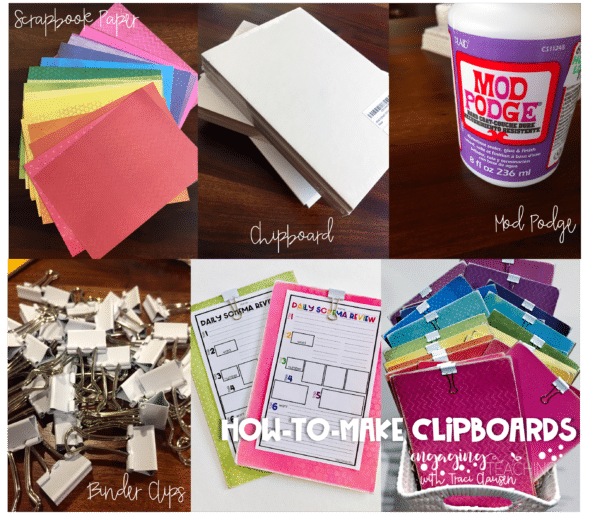
Materials
Scrapbook paper of your choice {Hobby Lobby}
100 point extra thick Chipboard – 8 3/8″ x 6″ – {Amazon Afflink}
Hard Coat Mod Podge {Amazon Afflink}
Small (19mm) white binder clips {Amazon Afflink}
The chipboard is super thick, hard cardboard. I chose this size because I wanted the boards small. But it comes in all kinds of sizes.
I chose the hard coat Mod Podge because I wanted to add as much strength as possible to the boards. This stuff hardened very nicely.
The small white binder clips work perfectly for little fingers! The smaller ones are easiest to open for not so strong little peeps. Even if they can’t open them, they can use the little metal part that hangs down to hold their paper in place.
How to Make Clipboards
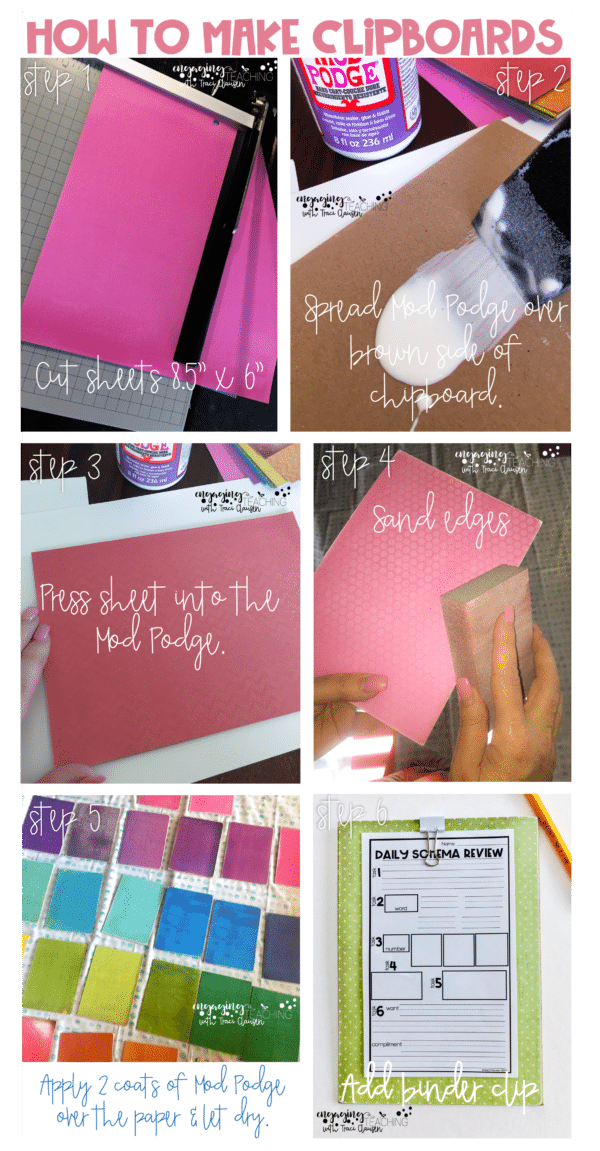
First, cut the paper to size. You can get two clipboard sheets out of each 12″ piece of paper from this pad. I used one from each side of the paper, so I only ended up using 15 sheets total!
The chipboard comes in sheets that are brown on one side and white on the other. Because I wanted the back of these boards to look good without having to cover them with paper, I decided to keep the white side for the back. Using a sponge brush, I gave the brown side of the chipboard a coat of the Mod Podge.
After that, place a piece of the decorative paper into the Mod Podge. Press down and smooth it out. Ensure all of the edges are adhered.
Next, take an old sanding block or fine piece of sand paper and smooth over all the edges. I lightly sanded all around to remove any possibility of pesky little fingers pulling at the paper. This also works in getting off any overhang from the paper-size not completely matching the chipboard size.
Spread two coats of the Mod Podge over the top of the paper and sides. Let it dry between coats. This just took a few minutes. By the time I had the first coat done on all 30, the first clipboards I completed were ready for the second coat. Let them hang out and dry. I placed an old tablecloth on my floor and set them all out.
Once they are dry, turn them over and add a couple of coats of Mod Podge to the back for extra durability and let that dry.
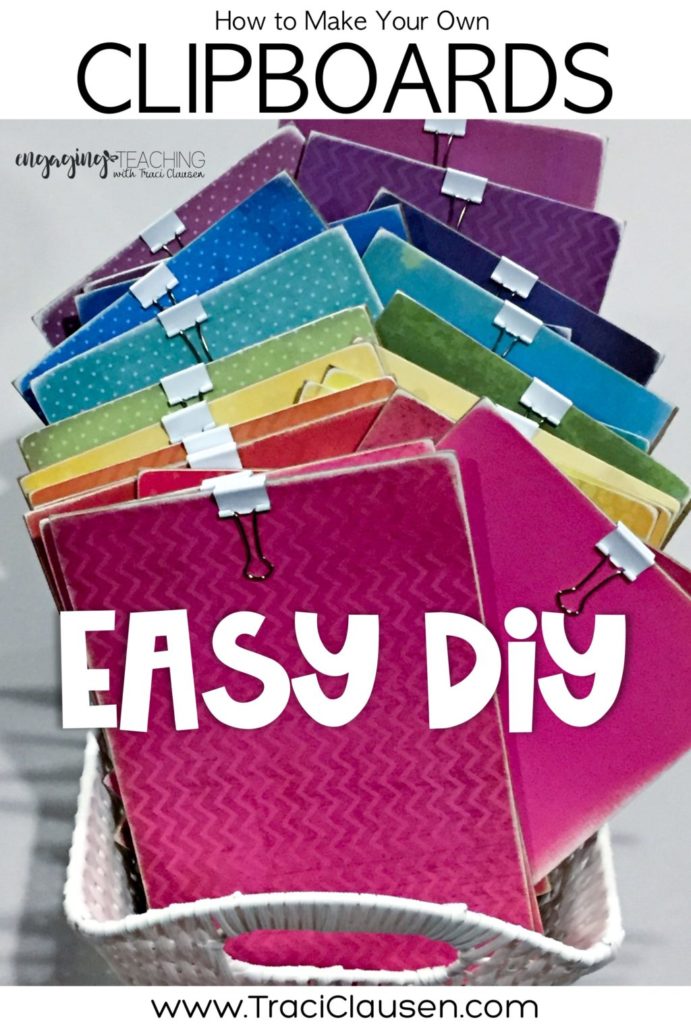
Finally, add a little binder clip to the top.

And that’s it! Easy-peasy!! AND SO PRETTY!
After I finished, I had a few extra chipboards left. So I decided to make a little inspirational quote art for my classroom. Really for ME to look at while I’m in my classroom. 😉
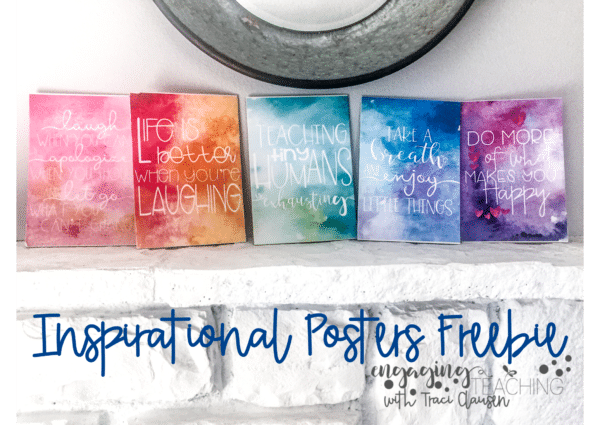
I printed my posters 8 1/2 x 6 on regular copy paper and used the same technique to adhere them to the WHITE side of the chipboard. I did not bother giving the back (brown) side a coat of Mod Podge as these are not going to used as clipboards. They only needed slight sanding to ensure there was no paper hanging over the edges.
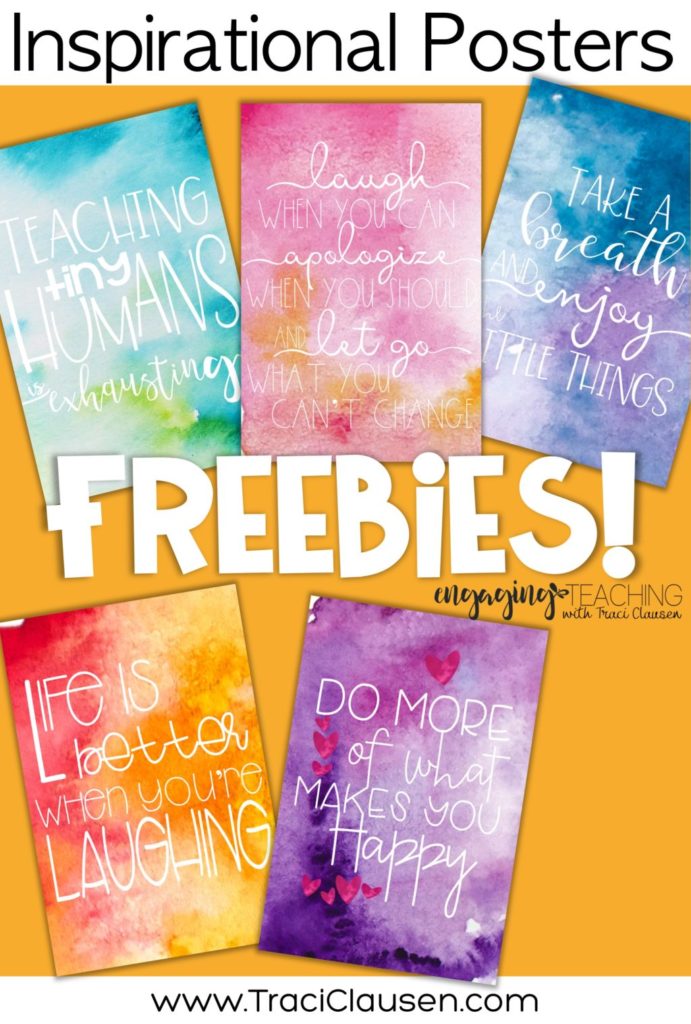
I hope you enjoy the posters!
So, are you ready to make some clipboards? Let me know how it goes!