I’m all about simple.
Like REALLY simple. Clutter and chaos are my enemies.
That’s why I LOVE binders.
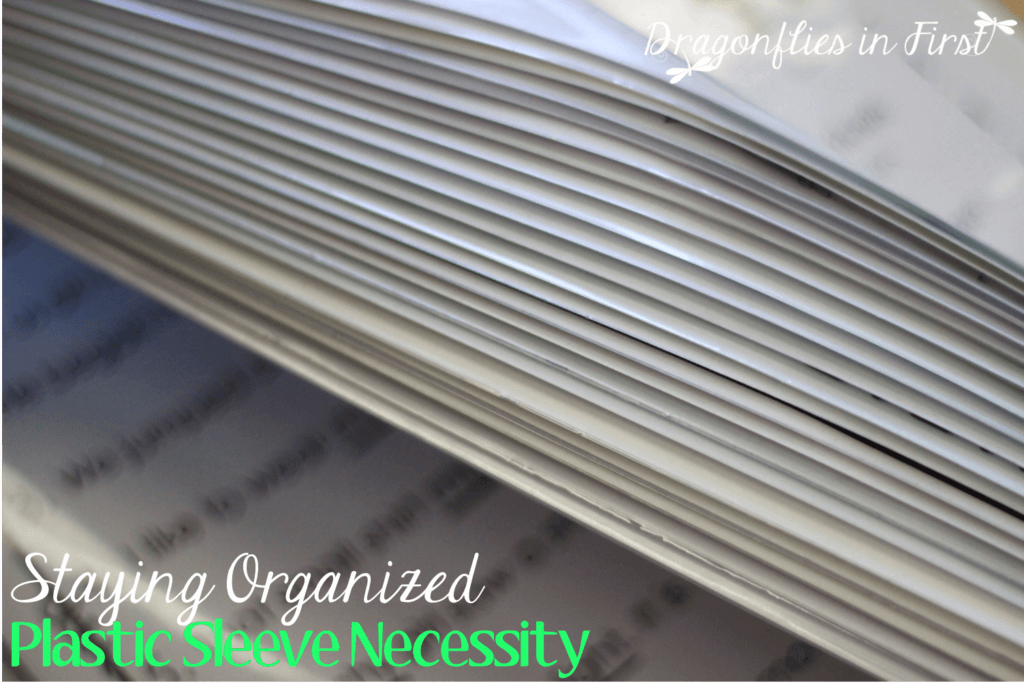
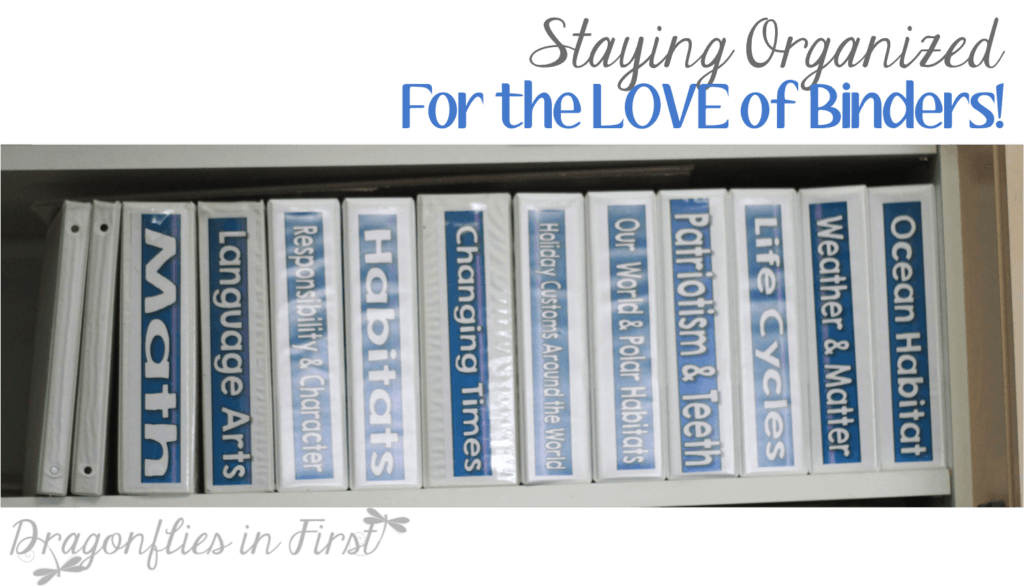
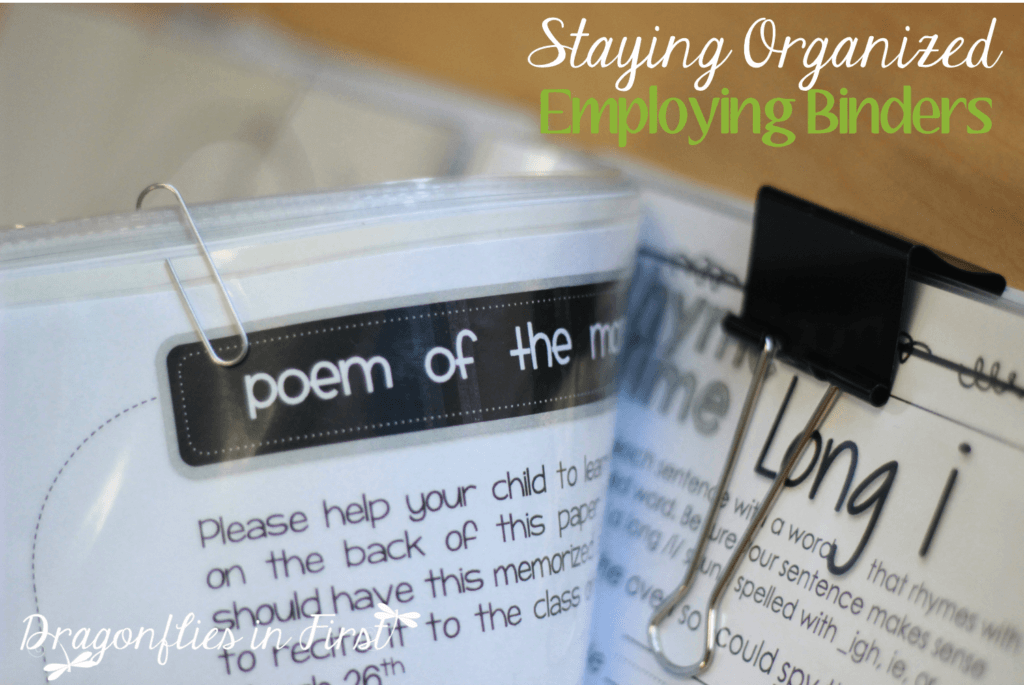
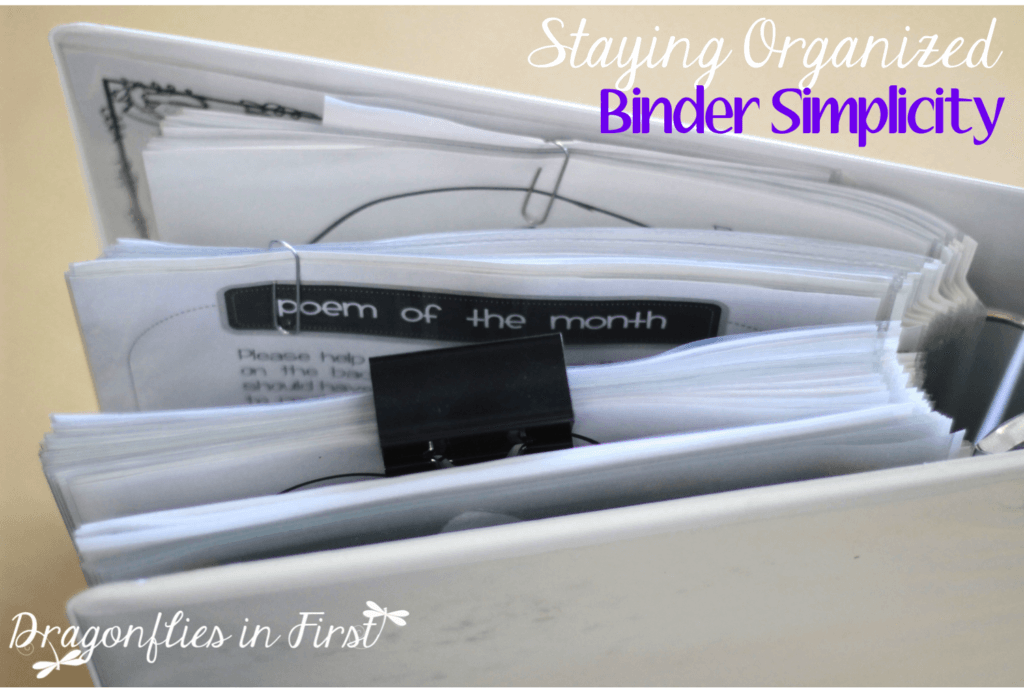
Nice, shiny white binders – with clear sleeve covers.
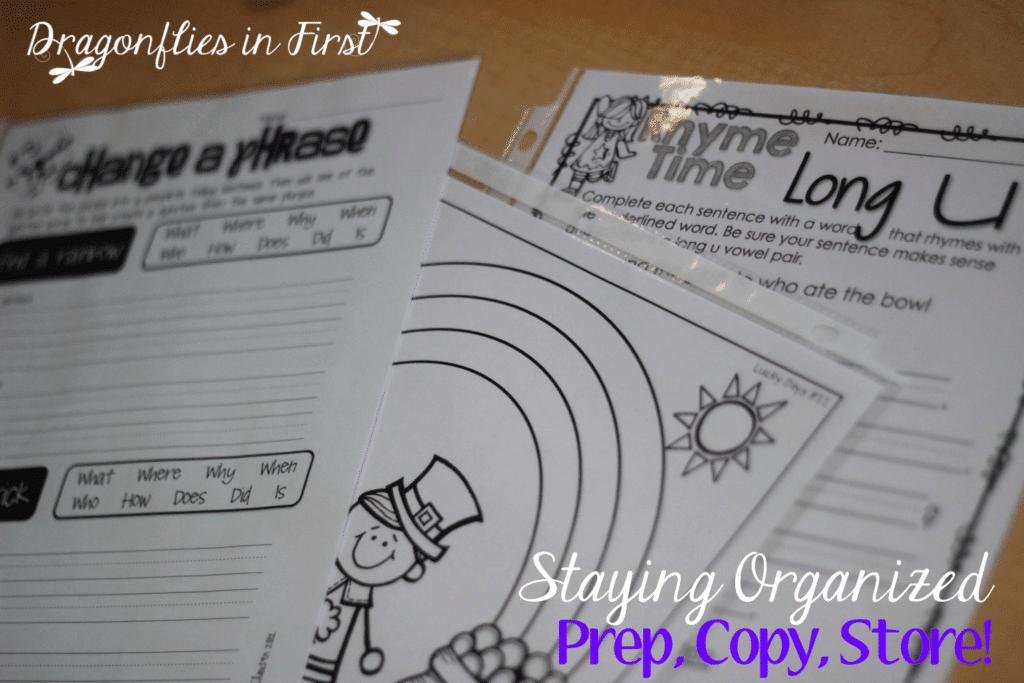
And TONS of clear plastic page sleeves inside.
Here are the top 3 reasons why you should also be obsessed with binders.
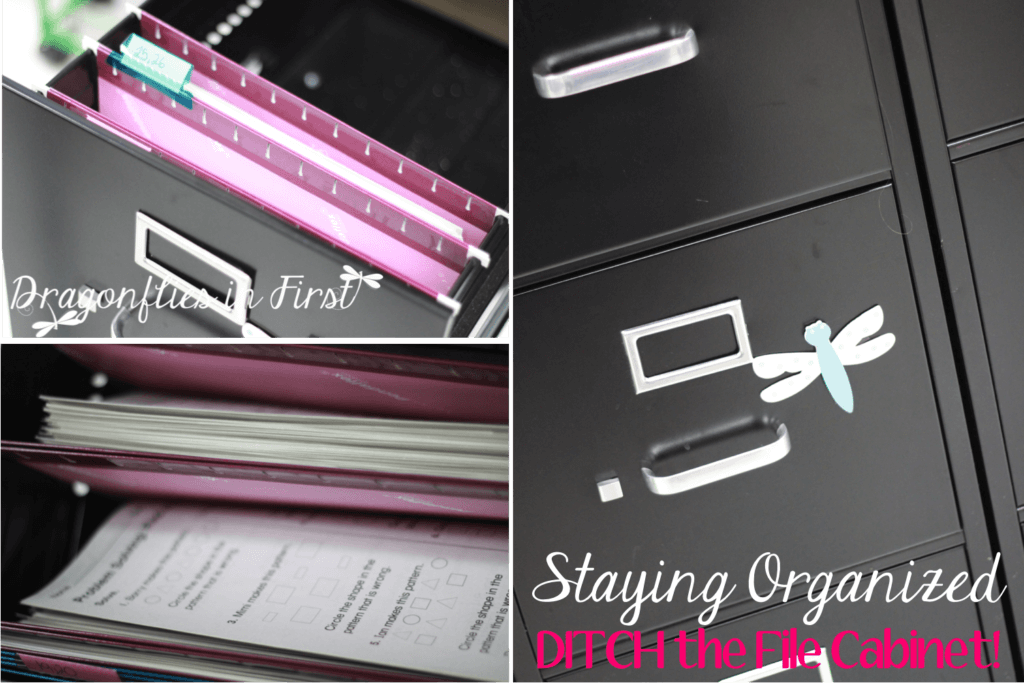
I loathe file cabinets. I have ONE drawer in a teacher friend’s file cabinet. I keep my math homework in there. Basically it is an out of sight storage container.
That’s my drawer there… the one with the dragonfly on it. Keeping my math homework in there is fine. I just grab a stack each week. Then the next week’s is automatically in front. There is no sorting through this cabinet trying to find things. I don’t ever have to LOOK at what’s in there. It was simply the easiest and most out of the way place to store pages that were torn out of 30 books. That’s the ONLY way I use a filing cabinet.
File cabinets are great for storing things that you don’t need to sort through. Easy access. Minimize chaos. Eliminate clutter.
File cabinets are not very efficient for storing teaching resources. BINDERS are the way to go for those original resources you use year after year. They are extremely effective and highly organized. It is MUCH easier to flip through a binder and see EXACTLY what you are looking for rather than pull file folders in and out of a drawer.
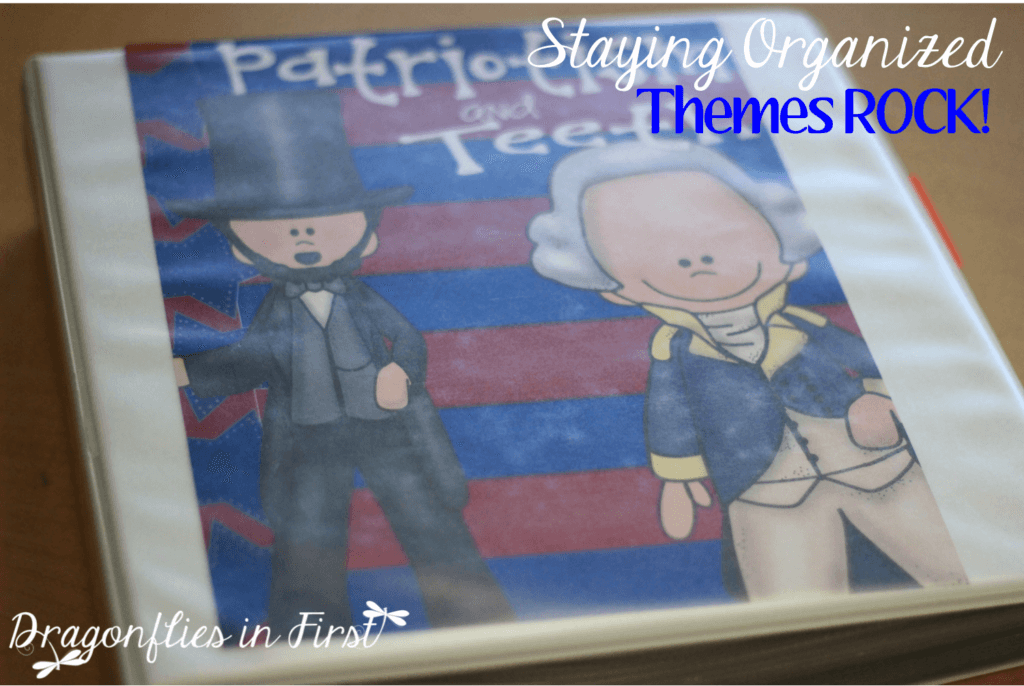
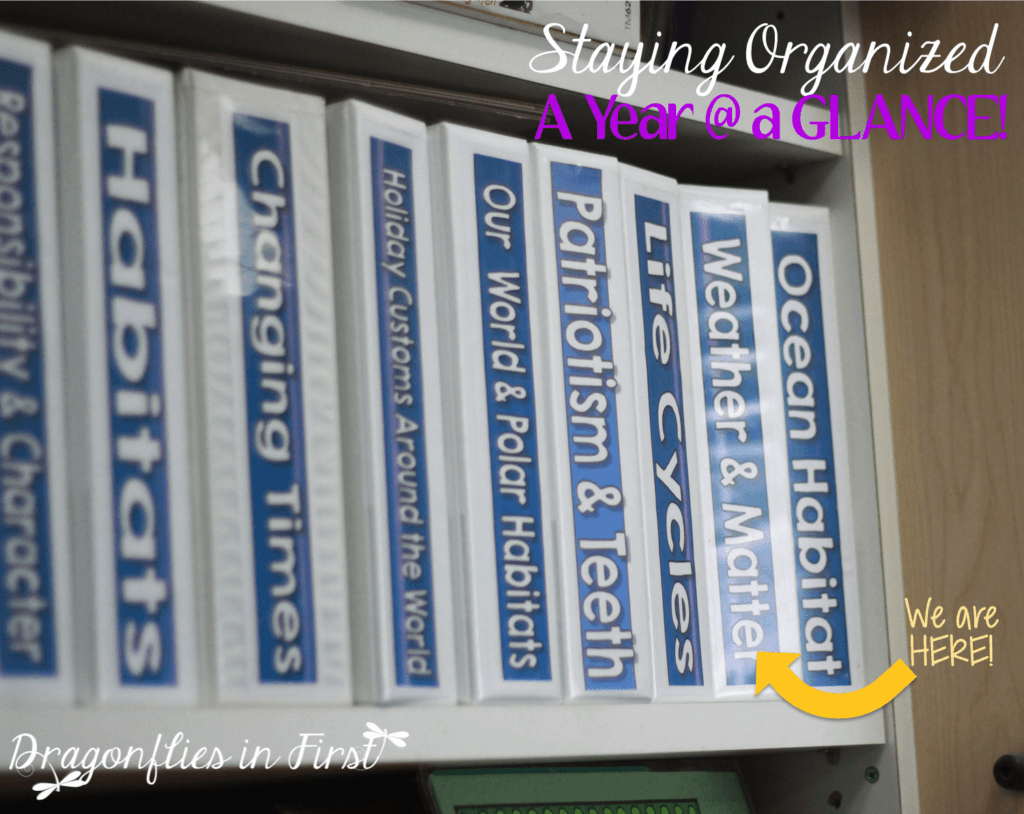
Plan a month at a time. Plan each month around a unifying theme (think social studies or science standards here) or two to bring cohesiveness to your days and weeks. This is a perfect way to fit in social studies and science into your busy, busy day. An organized binder is going to make planning for that month a breeze!
Each month should have a binder. Identify that binder by theme – keeping the focus clear and concise. In that binder place everything used during that month for ELA, math, social studies and science that isn’t in district curriculum. An entire month’s worth of reproducibles/originals in one place. Remember, the key is simplify. Having a BUNCH of binders will hinder your ability to reach that objective.
3 – COPYING & FILING SIMPLIFIER
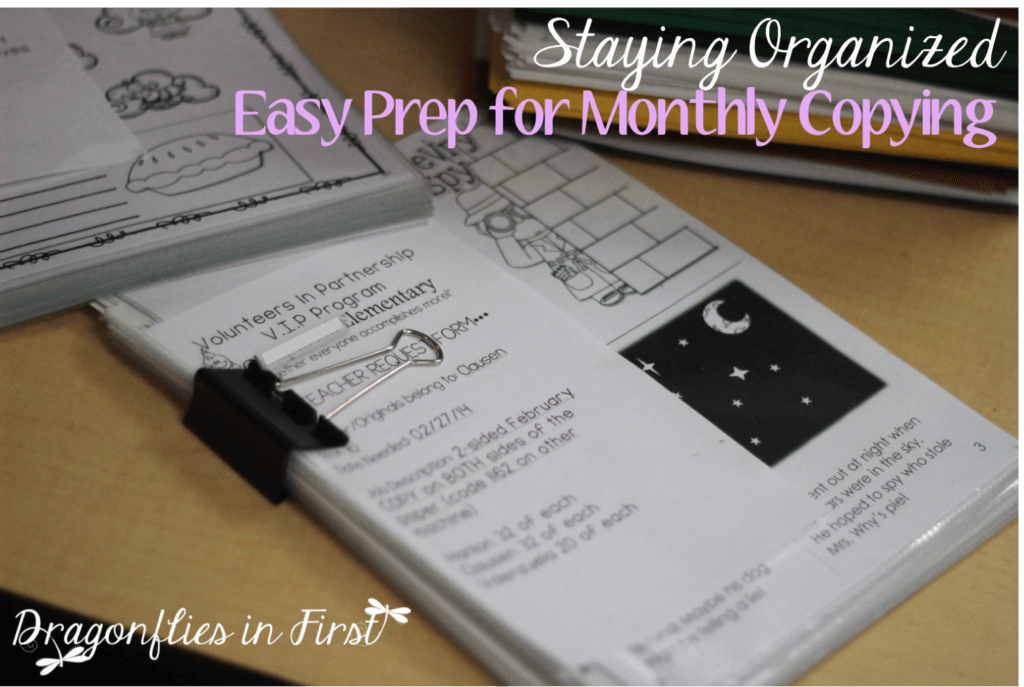
Place a copy of each original you use in a plastic sleeve.
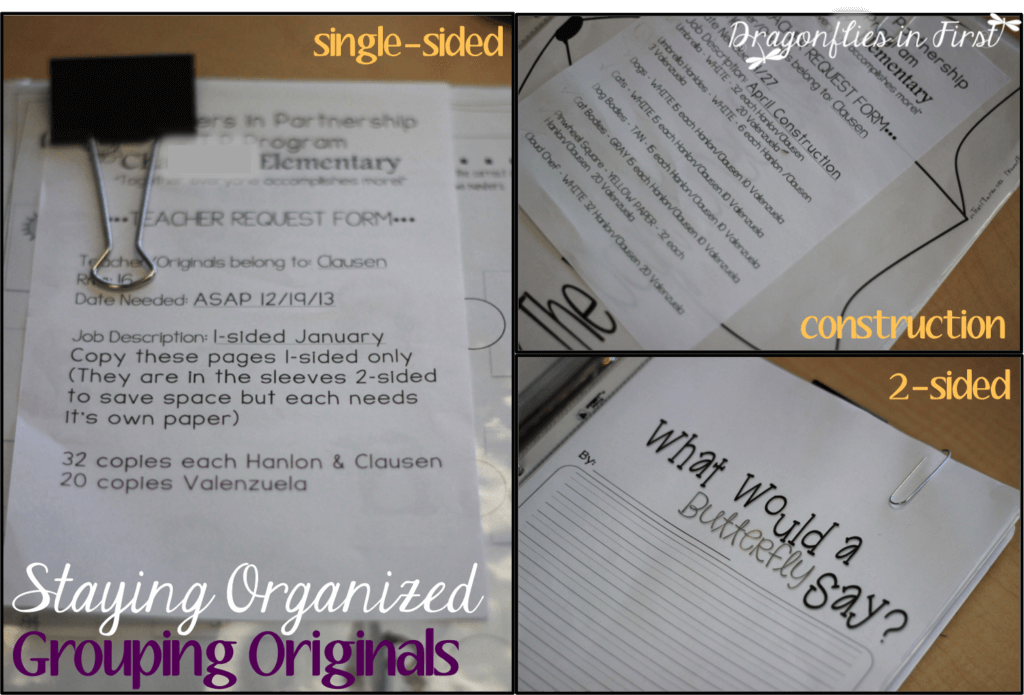
Group these sleeves by copying requirements.
Before copying, flip through your pages to be sure you have included/excluded all that is necessary for your kiddos that particular school year. Also, edit your pages. If you find you don’t like something, throw it away – remove it from your binder. Keep only what you will use. Simplify!
The originals never leave their sleeves, so “refiling” is easy. They just get plopped right back into the binder, snap the rings shut and put back on the shelf. Everything stays in pristine condition – no wrinkles, tears or file cabinet snafus. Another month… done!
That’s it. Simple. Quick. And an ESSENTIAL part of an organized school year!
************
Q and A Time!
Ok, so here are a few of the most common questions I received.
Where do you put the binders?
I have a shelf that I put my binders on. However, the goal here is to keep things simple and force yourself to throw things away and use binders no larger than 2″. If you haven’t used it in a long time, you probably don’t need it. Keep the things that are good, dynamic and have impact. You won’t want to go through HUGE binders to find what you are looking for. If you don’t have any extra shelf space, stick them in the file cabinet! 😉
Isn’t copying a pain with plastic sleeves?
No, it’s super easy. Lay the sleeve with the paper inside it on the glass and copy away. If you have something that normally is stapled into a packet, put the entire packet into one sleeve. Take that whole packet out of the sleeve when it is time to copy and back into it when you’re done. Easy/peasy.
Plastic sleeves seem pricey, where do you get yours?
I’ve always picked them up when I’m able to find them on sale. Sam’s Club, Costco and Amazon usually have fabulous prices on them, too. You don’t need super expensive sleeves. You aren’t going to be putting them through a lot of wear and tear. They hold up pretty well.
I haven’t a clue how to start organizing my papers and I don’t teach themes and I teach content not holidays. Where should I begin?
I start my organization with a year plan. I map out exactly which standards I am going to focus on during each month. In fact, if you are just starting an organization routing, I definitely suggest starting with mapping out your year plan. My “theme” for each month is actually a social studies or science standard. I use it as an overall “theme” so that I can be sure that content is addressed in all of our other subjects, too. It really serves as an organization tool for me and the brains of my little peeps. So, the binder for that month will address that science/social studies standard AND include items that address the standards that I will be teaching that month.
Even if you don’t use “themes”, I would still suggest organizing your binders by month. Use your year plan to organize your material. Let that be your guide.
Do you put EVERYTHING into binders?
No. I only put things that I will need to copy or refer to in a binder. I toss extra copies into our “scrap paper” bin (the kids use that for all kinds of stuff). All other materials related to each month’s instruction are stored together in a cabinet. I have a container and shelf designated for each month. I try not to leave center items out longer than a month because the kiddos get bored.
I am SO unorganized. I don’t know where to start.
Here’s my 3-step suggestion.
1. Start with a year plan. Look at your standards. Look at your curriculum. Does your District have a scope and sequence or a pacing that they’d prefer you use? Lay that out so you can see it ALL at once… the whole year. Although you are going to hit many standards each month, you should have at least one primary focus standard in each content area each week. The year plan takes some time, but is WELL worth it.
2. Go through your files and papers. Toss the things that simply don’t appeal to you or are lacking. Group the things according to the “theme” or standard to which they apply. You should have 9 groupings – one per month. Use your year plan to remember what goes where.
3. Do one month at a time AS you go. If you want to start getting organized THIS year – don’t try and do it all in one sitting. Organize September as you are working through it. NEXT September you will be grateful. 🙂 Baby steps. 🙂
I hope I answered all of your questions, but PLEASE let me know your organization queries and concerns! It will definitely help me with upcoming presentations and blog posts!
Don’t forget to check out the Blog Hoppin’ Linky …. all about ORGANIZATION ideas today!


